A young child should not be burdened with the task of figuring out how to make the best exposure. For kids under 7 just let them use the automatic modes. You may hear advice to never use the auto modes but don’t let this bother you.
If your child enjoys taking pictures just let them be creative. See where their imagination takes them. That being said, you can help your child start to understand a little more about camera settings by choosing different modes for them.
I will explain the different auto modes available on most cameras. Don’t be afraid to experiment with them.
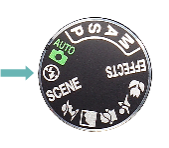
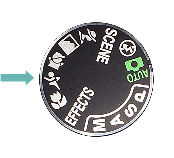
 Auto Mode
Your camera will make all the decisions in this mode. This is the best place to start for most beginners. The only thing you need to think about is finding a great subject and composing for an interesting picture.
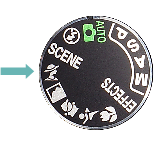
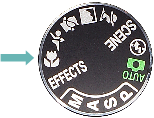
 Auto Flash Off Mode
This mode is the same as Auto except it turns off the flash. Your camera’s built-in flash generally creates unflattering light and shadows on your subjects. Use this mode when possible instead of Auto mode.
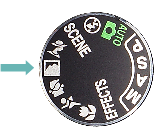
 Portrait Mode
When taking pictures of people, this mode will tell the camera to blur the background. Messy backgrounds are often the cause of bad pictures. The camera will also soften the skin tones while sharpening other parts of your subject. Overall this creates a more pleasing portrait. All you have to do is compose and shoot.
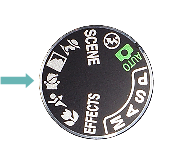
 Landscape Mode
This mode will make colors more vivid. It will also set your lens to a small aperture so that more of the scene is in focus.
 Child Mode
Clothing colors will be more vibrant here while skin tones will be soft and flattering. Don’t expect this mode to always stop the action of a fast toddler though. In low light situations you will probably see some blur. Ironically this may not be the best mode for taking pictures of children. Instead, try out sports mode.
 Sports Mode
When shooting sports we usually want to freeze the action. This requires a fast shutter speed and that is exactly what Sports Mode will do for you. Flash will also be set to off.
 Close-up Mode
Do not confuse this with a Macro mode available on some fixed lens cameras. Close-up Mode sets a small aperture so that more of your picture is in focus. In technical terms this creates a larger depth-of-field. This mode will not make your lens focus any closer than normal.
If you have a fixed lens camera with Macro mode it will also be designated with a flower. Turn Macro Mode on to allow your lens to focus much closer. Both modes are designed to take close-up pictures of your subject.
The beginning of understanding
As your child picks different subjects help them select the correct mode to get the best results. They will begin to understand that there is more to photography than just pressing the shutter button. They can learn all about the manual modes when they are ready. Don’t rush it.
Leave a comment and let me know what mode you shoot with the most and why!
Leave a Reply