Understanding Consonant Blends and Blend Ladders
Consonant blends combine two or more consonant sounds where each sound remains distinct, unlike digraphs that create new sounds. Blend ladders provide a structured approach to help students gradually build these letter combinations through systematic practice.
What Are Consonant Blends?
A consonant blend occurs when two or three consonants appear together in a word, but each consonant keeps its individual sound. Unlike digraphs such as “sh” or “ch,” blends don’t create entirely new sounds.
Teachers can find blends at the beginning, middle, or end of words. Common examples include “bl” in black, “str” in street, and “nd” in hand.
Three main types of consonant blends include:
- S-blends: sp, st, sm, sn, sw (spider, stop, small)
- L-blends: bl, cl, fl, gl, pl (blue, clap, flower)
- R-blends: br, cr, dr, fr, gr, pr, tr (brown, crab, drum)
Students must hear both consonant sounds distinctly when pronouncing blends correctly. This skill helps them decode hundreds of new words once they master the pattern.
Blends vs. Digraphs: Key Differences
Understanding the difference between blends and digraphs helps teachers choose appropriate instructional methods. With consonant blends, students can still hear both sounds of the consonants, while digraphs create completely new sounds.
Consonant Blends:
- Each letter keeps its original sound
- Examples: “fl” in flag, “st” in star
- Students blend individual sounds together
Consonant Digraphs:
- Letters combine to make one new sound
- Examples: “sh” in ship, “th” in think
- Students must memorize the new sound
Teachers should address these concepts separately during instruction. Blends require blending skills, while digraphs need sound memorization.
The Role of Blend Ladders in Learning
Blend ladders provide systematic scaffolding for students learning consonant blends. This method breaks down complex blending into manageable steps that build student confidence.
The ladder approach starts with individual letter sounds, then gradually adds more sounds. For example, when teaching “stop,” students first say /s/, then /st/, then /sto/, and finally /stop/.
Benefits of blend ladders include:
- Reduces cognitive load on working memory
- Provides clear visual progression
- Supports struggling readers effectively
- Builds decoding confidence step by step
Teachers can use blend ladders with word cards, magnetic letters, or digital tools. The visual nature helps students see their progress clearly.
Common Challenges When Teaching Blends
Many students struggle with blends because they require strong phonemic awareness skills. Teaching consonant blends becomes easier when teachers understand typical difficulties.
Frequent student challenges include:
- Dropping the first consonant sound (saying “top” instead of “stop”)
- Adding extra vowel sounds between consonants (“ba-lue” for “blue”)
- Confusing blends with digraphs
- Difficulty hearing individual sounds within blends
Teachers can address these issues through explicit phonemic awareness practice. Having students tap out individual sounds before blending helps significantly.
Some students need extra time with auditory discrimination activities. Using mirrors helps them see mouth movements for different consonant sounds.
Step-by-Step Approach to Teaching Consonant Blends with Blend Ladders
Blend ladders provide a structured way to teach consonant blends by building from familiar word patterns. This method uses visual progression and systematic practice to help students master blend sounds through careful sequencing and explicit instruction.
Building on CVC Words for Blending Success
Teachers should start with CVC words that students already know well. These familiar words become the foundation for adding consonant blends.
For example, students who can read “lap” easily will find it simpler to learn “clap.” The CVC pattern stays the same while only one new sound gets added.
Common CVC to Blend Progressions:
- lap → clap, flap, slap
- rim → trim, brim, grim
- pot → spot, plot
- top → stop, chop → shop
This approach builds confidence because students recognize most of the word. They only need to focus on the new blend sound at the beginning.
Teachers can create word ladders on paper or use magnetic letters. Students move up each rung by adding the blend to their known CVC word.
The visual ladder shows clear steps from simple to more complex. Each step feels manageable because the change is small.
Sequence: Introducing Simple to Complex Blends
The order of teaching blends matters for student success. Teachers should master the progression from simple to complex when introducing new blend patterns.
Recommended Teaching Sequence:
| Stage | Blend Type | Examples |
|---|---|---|
| 1 | L-blends | bl, cl, fl, gl, pl, sl |
| 2 | R-blends | br, cr, dr, fr, gr, pr, tr |
| 3 | S-blends | sc, sk, sm, sn, sp, st, sw |
| 4 | Three-letter blends | scr, spl, spr, str |
L-blends and r-blends are blends where an “l” or an “r” are the second letter in the blend and work well as starting points.
Students typically find l-blends easier to hear and say. The /l/ sound blends smoothly with most consonants.
R-blends come next because they follow similar patterns. S-blends can be trickier since they often change the mouth position more.
Explicit Modeling and Guided Practice with Ladders
Direct instruction works best when teaching consonant blends. Teachers need to show students exactly how blend sounds work together.
The teacher should say each sound slowly first. For “clap,” they say /c/ /l/ /a/ /p/ with clear pauses between sounds.
Next, they blend the sounds faster while moving their finger up the ladder rungs. Students watch and listen as the sounds come together.
Modeling Steps:
- Point to each letter and say its sound
- Blend sounds slowly together
- Say the whole word normally
- Have students repeat each step
Students need lots of practice with teacher guidance. They should not work independently until they show confidence.
The ladder format helps students see their progress. Each successful word builds to the next level.
Teachers can use hand motions or finger slides to show how sounds blend together smoothly.
Focusing on Initial and Final Blends Separately
Students learn better when initial blends and final blends get taught at different times. Mixing both types too early creates confusion.
Initial blends come at the start of words like “stop” and “clap.” These blends are easier for most students to hear and identify.
Teachers should spend several weeks on initial blends before moving to final blends. Students need solid skills with beginning blends first.
Initial Blend Examples:
- bl: black, blue, blow
- tr: tree, truck, trip
- st: stop, star, stick
Final blends appear at word endings like “jump” and “hand.” These require different listening skills since the blend comes after the vowel.
Final Blend Examples:
- mp: jump, camp, lamp
- nd: hand, land, send
- st: fast, best, list
The ladder approach works for both types. Students climb from simple CVC words to more complex patterns with ending blends.
Separate practice sessions help students focus on one skill at a time without getting overwhelmed.
Engaging Activities and Strategies for Mastering Blends
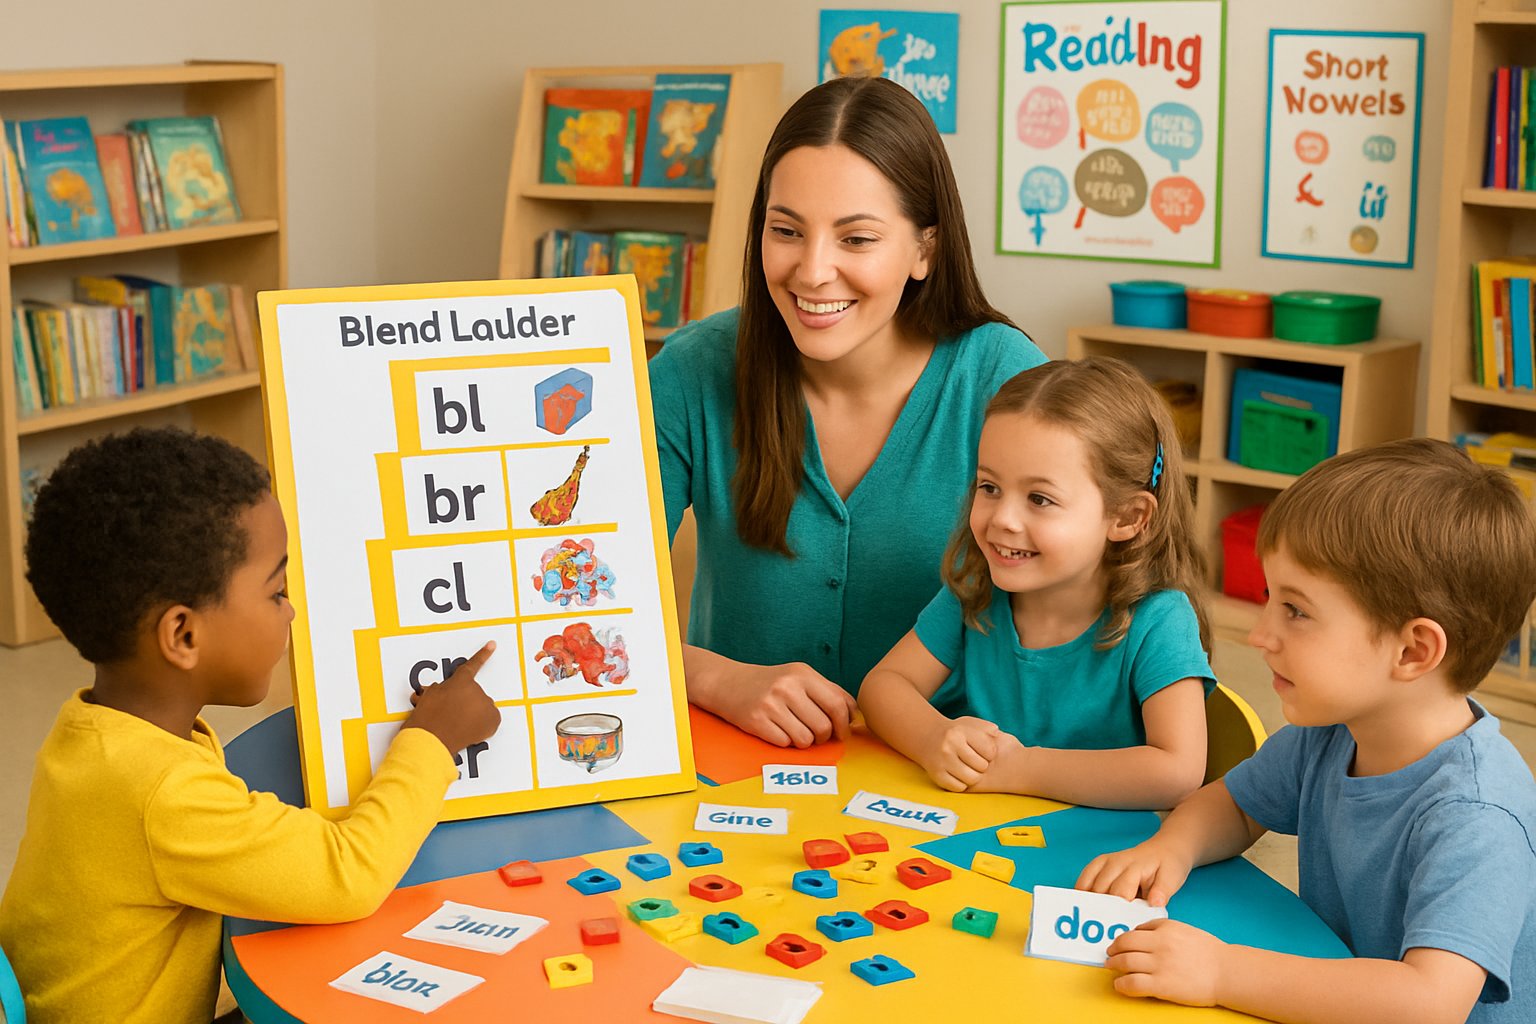
Students learn consonant blends best through hands-on practice that engages multiple senses and provides clear structure. These proven methods help children hear, see, and feel blend sounds while building confidence with reading skills.
Multisensory Practice with Blend Ladders
Blend ladders work well when paired with multisensory activities that incorporate visual, auditory, and kinesthetic elements. Teachers can enhance this tool by adding physical movements and manipulatives.
Students start by touching each letter in the blend while saying the individual sounds. They then slide their finger across both letters while blending the sounds together smoothly.
Physical movements that support blend ladders:
- Clapping for each sound in the blend
- Tapping fingers on the desk
- Using arm motions to “pull” sounds together
- Walking forward with each sound
Letter tiles or magnetic letters work perfectly with blend ladders. Children can physically move the letters closer together as they practice blending the sounds.
Color-coding helps students see the difference between blend sounds and other word parts. Teachers can use one color for the blend and another color for the rest of the word.
Using Elkonin Boxes and Tapping Sounds
Elkonin boxes help students focus on beginning or ending blends by pushing chips into boxes. This method breaks down the blending process into clear steps.
Teachers draw boxes on paper or use pre-made templates. Each box represents one sound in the word. Students place one chip or counter in each box as they say each sound.
Steps for using Elkonin boxes with blends:
- Start with the blend sounds only
- Say each sound while pushing a chip into a box
- Add the remaining sounds in the word
- Blend all sounds together
The tapping method works alongside Elkonin boxes. Students tap their finger or a pencil for each sound they hear. This helps them count the sounds correctly.
Some children need to start with just two sounds in the blend. Teachers can gradually add more complex blends as students get comfortable with the pattern.
Incorporating Visual and Kinesthetic Learning
Visual learners need clear pictures and charts to understand teaching blends. Teachers can create anchor charts that show common blend patterns with example words and pictures.
Effective visual supports include:
- Blend charts with pictures for each sound
- Word walls organized by blend type
- Hand gestures for different blend sounds
- Color-coded letter cards
Kinesthetic learners benefit from movement activities. They can hop, jump, or march while saying blend sounds. Some teachers use yoga poses or dance moves for each different blend.
Building words with letter blocks or tiles gives students hands-on practice. They can physically construct words while saying the sounds out loud.
Sandpaper letters let students trace the blend while practicing the sounds. This combines touch and movement to strengthen memory pathways.
Art projects work well too. Students can draw pictures of words that start with specific blends or create collages using magazine cutouts.
Reinforcing Blends in Contextual Reading
Reading real books and sentences helps students apply their blend knowledge. Teachers should choose texts that feature the specific consonant blends students are learning.
Decodable books work best for beginning readers. These books contain mostly words that students can sound out using their current phonics skills.
Ways to reinforce blends during reading:
- Point to blend letters while reading
- Ask students to find words with specific blends
- Have students identify blend sounds in new words
- Practice reading the same text multiple times
Shared reading activities let teachers model how to handle tricky blend words. They can show students how to slow down and carefully blend the sounds together.
Students can also create their own sentences using words with the target blends. Writing activities help cement the connection between sounds and letters.
Word hunts in familiar books give students practice spotting blend sounds in context. They can use highlighters or sticky notes to mark the words they find.
Leave a Reply