Sort What Stays, Moves, Or Goes
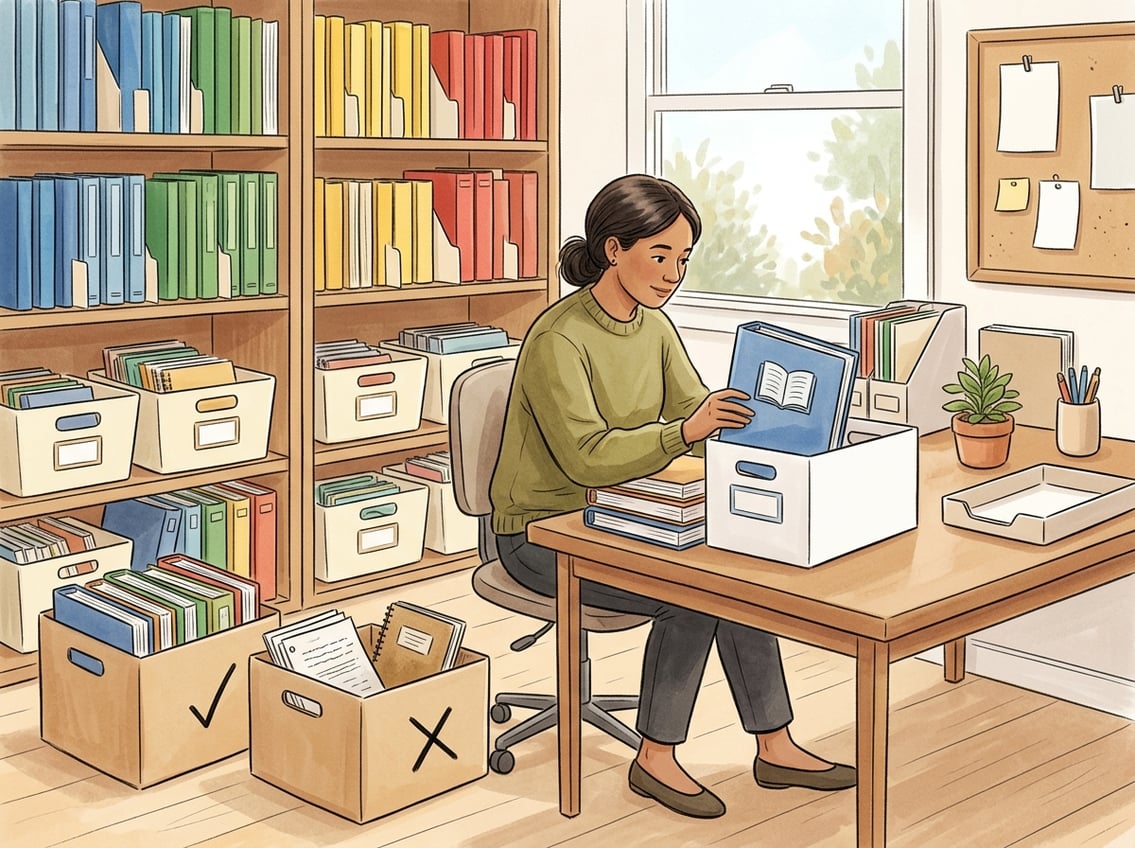
Before you buy a single bin or binder, you need to make honest decisions about what deserves prime real estate in your teaching space.
The fastest way to fail at organizing teaching materials is to try organizing everything at once without sorting first. A clear sort saves you hours of reshuffling later.
Separate Daily-Use Materials From Archive Items
Pull every piece of curriculum you own into one spot.
Now split it into three piles: daily-use, occasional reference, and archive.
Daily-use items are the teaching resources you reach for every single day. Think current teacher manuals, active student workbooks, and this week’s handouts.
These belong within arm’s reach of your main workspace.
Occasional reference materials include things like assessment banks, supplemental readers, and enrichment packets you pull out once or twice a month.
Store these nearby but not front and center.
Archive items are completed units, past-year curricula, and anything you won’t touch for months.
Box these up and move them to a closet, garage shelf, or under-stairway cabinet where they stay accessible without cluttering your organized classroom.
Group Resources By Subject, Unit, And Grade Level
Once you know what stays in your active workspace, group it logically.
The most practical approach is to sort by subject first, then by unit or chapter within each subject.
If you teach multiple grade levels, add a grade-level layer.
You can designate a shelf for each grade level starting with the highest on top and working down.
Color coding by subject or grade makes grabbing the right stack almost automatic.
Use Your Curriculum Map To Decide Priority Access
Your curriculum map is the secret weapon here.
Pull it out and look at what you’re teaching this month and next month.
Those units get front-row placement in your workspace.
Everything scheduled for later in the year can sit further back on shelves or in labeled bins.
When you align your physical storage to your curriculum map, your digital resources and paper materials stay in sync.
You’ll spend less time hunting and more time teaching.
Build A Binder System That Speeds Up Planning
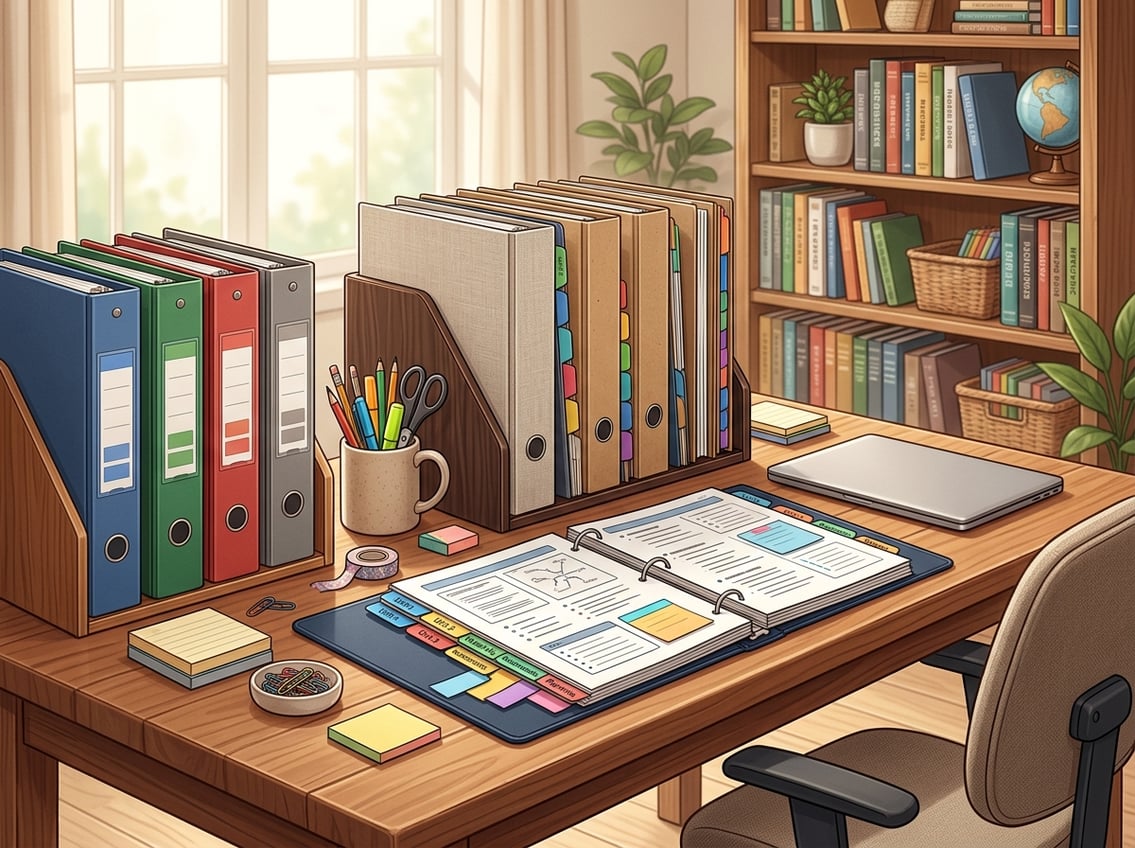
A solid binder system turns a messy stack of loose pages into a planning tool you can actually use on a Monday morning.
The right setup keeps lesson plans, reference sheets, standards documents, and student work flowing smoothly through your week.
Set Up A Teacher Binder For Core Reference Pages
Your teacher binder is your command center.
Start with a sturdy 2-inch three-ring binder and fill it only with the pages you reference repeatedly: pacing guides, standards checklists, contact lists, and your weekly planning templates.
A well-built curriculum binder holds everything from lesson plans to standards so you never have to dig through drawers mid-lesson.
Keep it lean.
If a page doesn’t get looked at weekly, it belongs somewhere else.
Use Tab Dividers, Page Protectors, And Binder Covers
Tab dividers are what make a binder actually functional instead of just a prettier pile of papers.
Use one tab per subject or per major category (plans, data, admin, communication).
Slip your most-handled pages into page protectors.
Grade-level checklists, emergency sub notes, and frequently photocopied originals last dramatically longer this way.
Durable binder covers in distinct colors help you tell binders apart at a glance from across the room.
Label Spines Clearly For Fast Grab-And-Go Access
Spine labels sound like a small detail, but they save real time.
Print clear, bold labels that include the subject, grade, and time period.
For example: “Math | Grade 3 | Units 1-4.”
When every binder in your collection has a readable spine label and coordinating color, you can pull the right one off a shelf in seconds.
No flipping open covers to check what’s inside.
Create Student Binder Routines For Ongoing Classwork
Student binders work best when your students know exactly what goes in, where it goes, and when to file it.
Keep the setup simple: one tab per subject or unit, with a “to do” section in front and a “completed” section in back.
Teaching children to implement and maintain an effective binder system strengthens organizational skills they’ll use far beyond your classroom.
Build in a two-minute “file and check” routine at the end of each class period.
Student binders stay useful only when the routine is consistent.
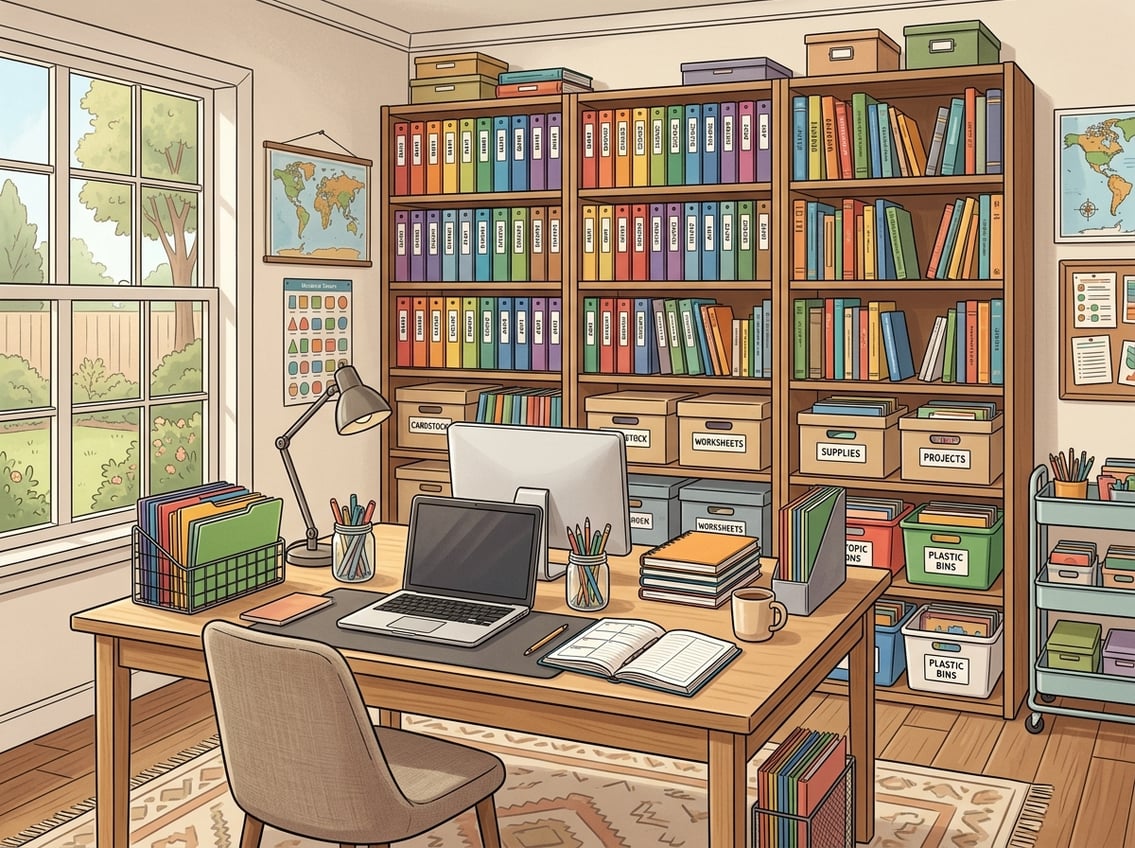
Choose Shelves, Bins, And Carts By Material Type
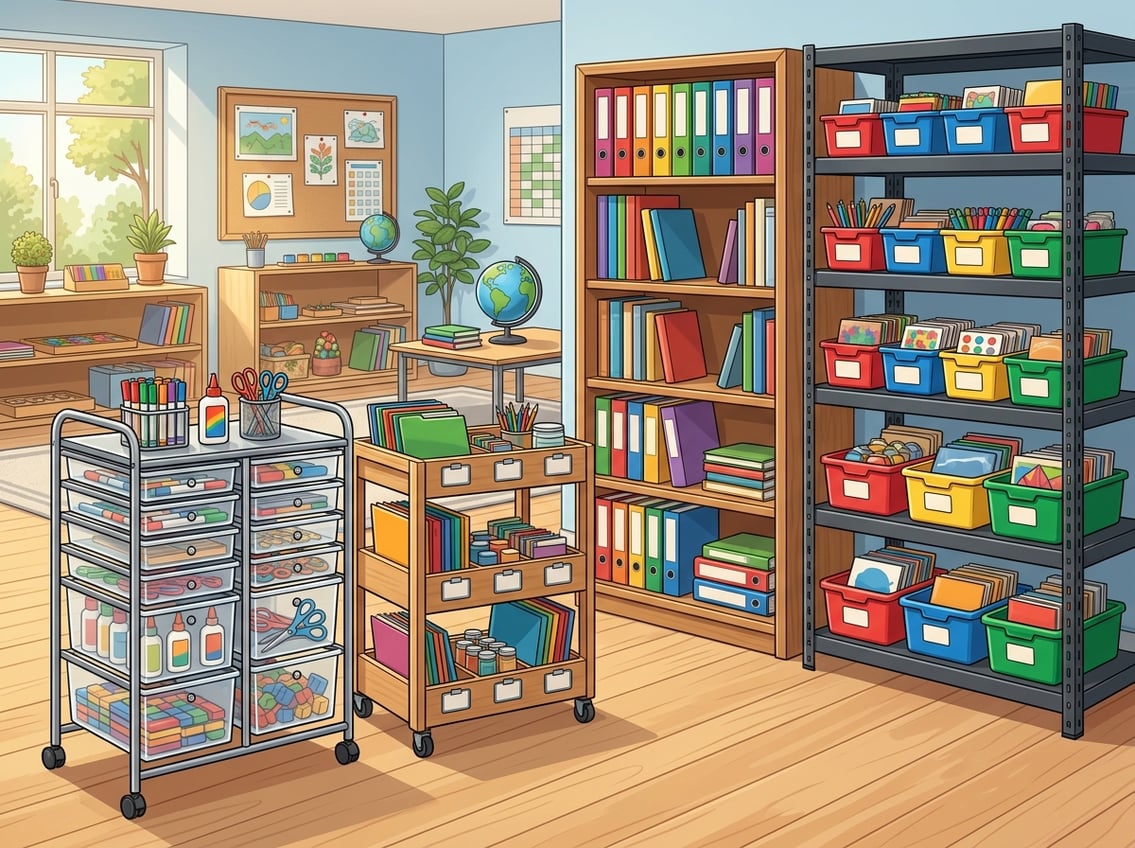
Different materials need different homes.
Heavy teacher manuals don’t belong in the same flimsy bin as flashcard sets, and student workbooks you rotate weekly need faster access than reference books you open once a semester.
Matching your classroom storage solutions to the size, weight, and frequency of use for each item keeps everything accessible and protected.
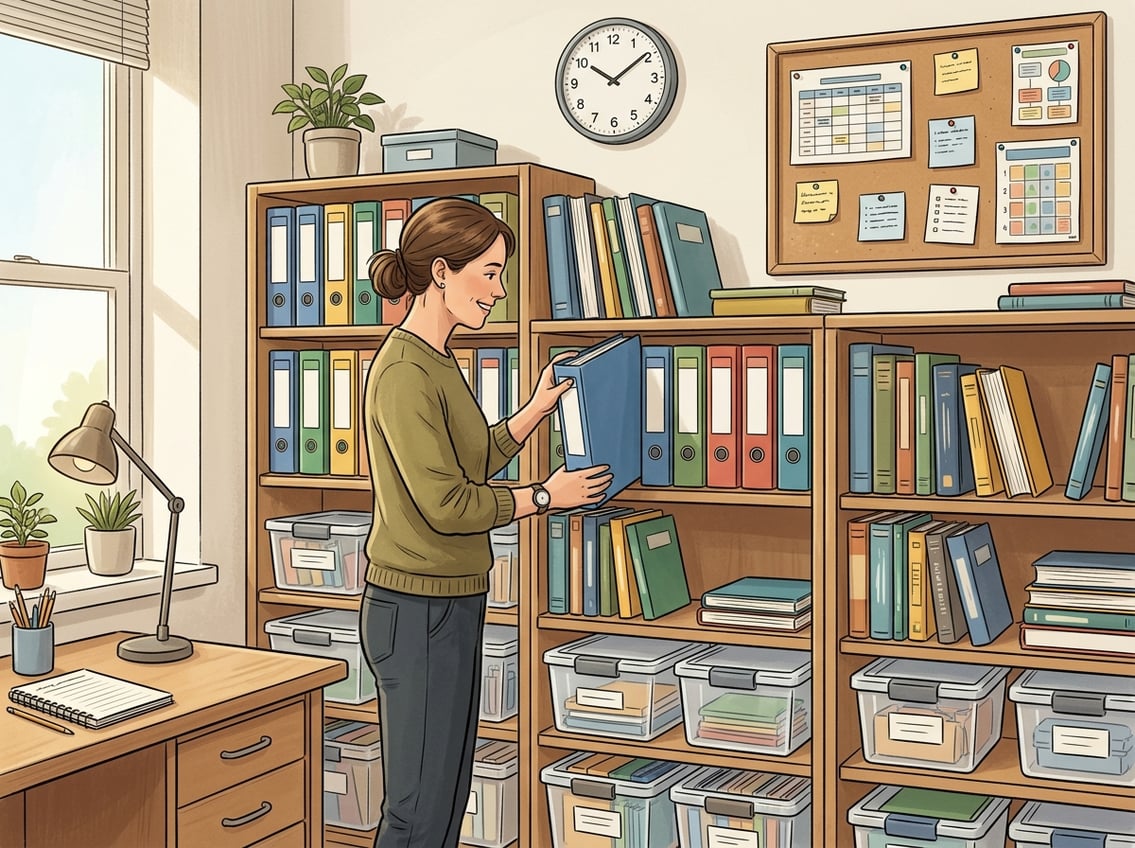
Store Teacher Manuals And Workbooks On Bookshelves
Bookshelves are still the most reliable option for heavy, frequently used books.
Place your current teacher manuals and student workbook sets on shelves at eye level or just below, where you can read spines without bending.
Adjustable metal library-style shelving can support hundreds of pounds of evenly distributed weight, making it ideal for thick curriculum sets and encyclopedias.
Reserve the top shelf for items you access less often, like next semester’s materials.
Keep active units at the front edge of the shelf so nothing gets buried.
Use Book Bins And Drawer Organizers For Small Sets
Not everything fits neatly on a bookshelf.
Manipulatives, flashcard decks, small supplemental readers, and individual worksheet packets do better in book bins or drawer organizers.
Clear plastic bins let you see contents instantly.
If you prefer fabric bins, label them or use a different color for each subject so students and adults can locate items without opening every container.
Stackable drawer organizers work especially well for sorted worksheet sets and loose supplies that would otherwise float around your classroom.
Add Rolling Carts For Materials That Travel Around The Room
If you teach at multiple tables, run small group stations, or share a space with other teachers, rolling carts are a game changer.
Load one cart per subject or per group rotation with everything that station needs.
Rolling carts provide a smart storage solution for flexible spaces because you can wheel them into position during class and tuck them away afterward.
A three-tier cart holds a surprising amount: binders on the top tier, workbooks in the middle, and supplies on the bottom.
Maximize Vertical Space With Wall-Mounted Shelves
Floor space is almost always limited.
Wall-mounted shelves let you store materials up high without taking away any square footage.
As noted by early childhood education specialists, wall-mounted shelving protrudes less into the room than freestanding units.
Use them for reference books, archive binders, or display copies you want visible but not constantly handled.
Pair them with small labeled bins for lightweight items like flashcards, timers, or math manipulatives.
Set Up Retrieval And Return Routines That Last

Even the most beautiful classroom organization falls apart without routines that tell everyone where things go and how they get back there.
The systems below are simple enough for students to follow independently and sturdy enough to survive an entire school year.
Create Simple Labels Students And Adults Can Follow
Labels are the backbone of any organized classroom.
Every shelf, bin, drawer, and binder slot needs a clear label that includes both words and a visual cue like a color dot or icon.
Use a large, readable font.
Laminate labels or cover them with packing tape so they survive daily handling.
When a substitute teacher or parent volunteer walks in, they should be able to return any item to its correct spot without asking a single question.
Assign Homes For In-Progress Work And Reused Materials
In-progress student work is where most classroom storage solutions break down.
Designate a specific bin, folder, or shelf section exclusively for work that’s started but not finished.
A cascading vertical filing system hung on a wall works especially well for this if you teach multiple students or class periods.
Assign each student or period a color-coded slot.
Reusable materials like laminated task cards or game boards need their own clearly marked “return here” bin so they don’t drift into the completed-work pile.
Protect High-Use Originals And Master Copies
Your master copies of worksheets, tests, and activity pages are irreplaceable time-savers.
Never store them loose in a drawer.
Place each master in a page protector inside a dedicated binder, organized by unit.
Store this binder away from the student-access area so originals don’t get accidentally written on, crumpled, or spilled on.
If a master sheet starts showing wear, make a fresh copy from it immediately and retire the original to a protective sleeve.
This small habit saves you from having to recreate materials from scratch mid-year.
Maintain The System Without Reorganizing All Year
A good system should run on maintenance, not makeovers.
With a few small habits built into your week, your organizing teaching materials setup can stay clean from August through June without a single weekend overhaul.
Schedule Quick Weekly Resets
Pick one day each week for a ten-minute reset.
Friday afternoons work well because you close out the week with a clean slate.
During the reset, check that every binder is on its correct shelf, every bin is labeled and in position, and nothing has piled up in the wrong spot.
Have students participate for the last two minutes of class by returning their own materials and checking their binder sections.
Consistency matters more than perfection here.
A quick weekly sweep prevents the slow creep of disorder.
Archive Finished Units Without Losing Access
When you wrap up a unit, don’t just shove the materials to the back of a shelf.
Remove the unit’s resources from your active classroom storage, place them in a labeled bin or binder sleeve, and move them to your archive spot.
Write the unit name, grade level, and date on the outside.
If you keep your archive organized in the same subject-then-unit order you used during the year, you can pull any past unit back out in under a minute.
This keeps your daily workspace lean without making old materials hard to find.
Back Up Paper Systems With Lightweight Digital Records
You don’t need to go fully digital to benefit from digital resources. Snap a quick photo of your binder table of contents, your shelf layout, and any master copies you’d hate to lose.
Store these photos in a simple folder on your phone or in a cloud drive. If a binder goes missing or a master copy gets destroyed, you have a backup ready.
Some teachers also keep a brief digital spreadsheet listing every physical resource and its storage location. This takes about 20 minutes to create at the start of the year.
Update it each time you archive or add new materials.
Frequently Asked Questions
What’s the best way to sort curriculum materials so I can find what I need quickly during the school day?
Start by separating materials into daily-use, occasional-reference, and archive categories. Then group the daily-use items by subject and unit.
Place the current unit front and center. Align your physical layout to your curriculum map so next week’s materials are always within reach.
How do I choose between binders, file boxes, and shelving for storing teacher guides and student workbooks?
Match the container to the material. Heavy teacher manuals and thick workbook sets belong on sturdy bookshelves.
Loose worksheets and handouts organize best in three-ring binders with tab dividers. File boxes are ideal for archiving completed units or storing supplemental materials you access less frequently.
What are some space-saving storage ideas for curriculum in a small classroom or home learning area?
Wall-mounted shelves free up floor space without sacrificing storage capacity. Rolling carts can be tucked into a closet when not in use.
Over-the-door hanging organizers hold lightweight items like flashcards and manipulatives. Focus on vertical storage and buy only what you need for the current semester.
How can I label and color-code curriculum materials to keep subjects and grade levels organized?
Assign one color per subject or per grade level and carry that color through binder covers, spine labels, bin tags, and shelf markers. Print labels in a large, clear font and laminate them for durability.
When everything shares a consistent color code, anyone can return materials to the right spot instantly.
What’s a simple system for storing and rotating student workbooks, worksheets, and completed work throughout the year?
Keep active workbooks in a student-accessible bin or shelf section. Designate a separate “completed work” bin or folder for finished assignments.
At the end of each unit, move finished materials into a labeled archive box. This rotation keeps your active storage uncluttered while preserving everything students have done.
How can I protect curriculum books and manuals from wear, spills, and frequent handling while keeping them easy to access?
Slide frequently referenced pages into page protectors inside binders. Store master copies in a separate binder away from student hands.
For hardcover teacher manuals, keep them upright on shelves rather than stacked flat. This reduces spine damage.
Laminating covers or adding clear contact paper extends the life of workbooks that get passed between students daily.
Leave a Reply